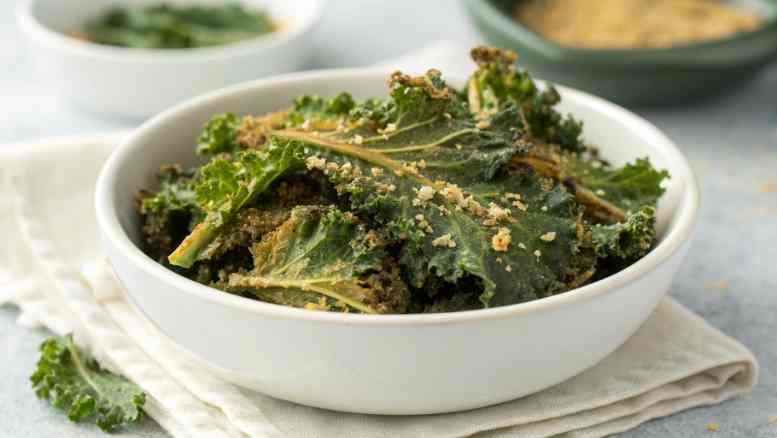
If you’re looking for a healthy and crispy snack, this Kale Chips Recipe is a perfect alternative to traditional chips. Light, crunchy, and full of flavor, kale chips are easy to make and require just a few simple ingredients. I love how they turn perfectly crisp in the oven while keeping their natural nutrients. Whether you’re snacking or looking for a healthy side, these kale chips are a delicious choice.
Why You’ll Love This Recipe
Healthy and Nutritious:
Packed with vitamins and minerals, making it a guilt-free snack option.
Crispy and Light:
Perfectly crunchy texture without deep frying or heavy oils.
Quick and Easy:
Simple preparation and fast cooking time make this a convenient snack.
Customizable Flavor:
Easily adjust seasoning to suit your taste preferences.
Ingredients You’ll Need
Kale:
Fresh kale leaves are the base and crisp up beautifully.
Olive Oil:
Helps the leaves crisp and adds a light flavor.
Salt:
Enhances the natural taste of the kale.
Variations
- Add garlic powder or paprika
- Sprinkle with Parmesan cheese
- Add chili flakes for heat
- Use nutritional yeast for a cheesy flavor
How to Make Kale Chips Recipe
Step 1: Preheat the Oven
Preheat your oven to 300°F (150°C). A lower temperature helps the kale dry out slowly and become crisp without burning.
Step 2: Prepare the Kale
Wash the kale thoroughly and dry it completely using a clean towel or salad spinner. Removing all moisture is essential for achieving crispy chips. Tear the kale into bite-sized pieces and remove the tough stems.
Step 3: Season the Kale
Place the dried kale in a large bowl and drizzle with olive oil. Toss gently to coat each piece evenly. Sprinkle with salt and toss again to distribute seasoning.
Step 4: Arrange on Baking Sheet
Spread the kale in a single layer on a baking sheet lined with parchment paper. Make sure the pieces are not overlapping to allow proper air circulation.
Step 5: Bake Until Crispy
Bake for 10–15 minutes, checking frequently to prevent burning. The edges should be crisp but not browned too much.
Step 6: Cool and Serve
Remove from the oven and let the chips cool for a few minutes. They will continue to crisp up as they cool. Serve immediately for the best texture.
Pro Tips
Dry Kale Thoroughly:
Any moisture will cause the chips to steam instead of being crisp.
Don’t Overcrowd:
Give each piece space to ensure even crisping.
Use Low Heat:
Prevents burning while allowing the kale to become crisp.
Watch Closely:
Kale can go from perfect to burnt quickly.
How to Serve
Healthy Snack:
Enjoy on its own as a light and crispy snack.
Side Dish:
Serve alongside sandwiches or wraps for added crunch.
Topping:
Use as a crunchy topping for salads or soups.
Storage
Room Temperature:
Store in an airtight container for up to 2 days.
Reheating:
Re-crisp in the oven for a few minutes if needed.
Freezing:
Not recommended, as texture will be affected.
FAQs
Why aren’t my chips crispy?
They may not have been dried properly or may have been overcrowded.
Can I use different oils?
Yes, avocado oil or other light oils work well.
How do I keep them from burning?
Bake at a low temperature and check frequently.
Can I make them in an air fryer?
Yes, adjust time and cook in small batches.
Final Thoughts
This Kale Chips Recipe is a simple, healthy, and delicious snack that’s easy to make at home. With its light crunch and customizable flavors, it’s a great alternative to traditional chips. Once you try it, you’ll love having this nutritious snack on hand.
Kale Chips Recipe
Ingredients
Method
- Preheat oven to 300°F (150°C).
- Wash, dry, and tear kale.
- Toss with oil and salt.
- Spread on baking sheet.
- Bake until crispy.
- Cool and serve.
Notes
- Dry kale completely before baking
- Do not overcrowd the pan
- Watch closely to prevent burning
- Best eaten fresh
")