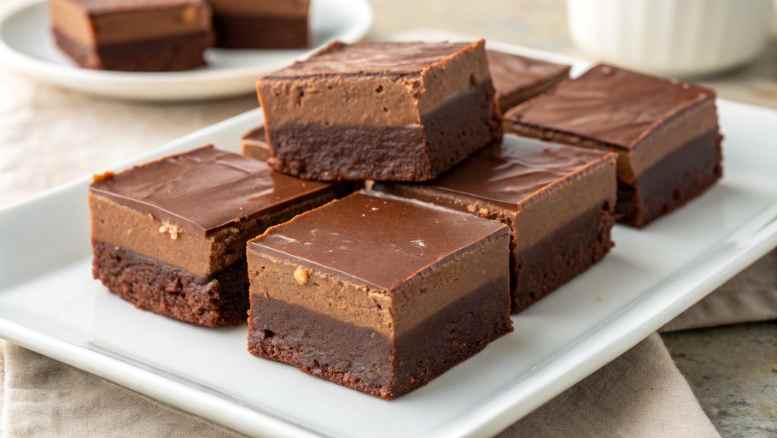
If you’re looking for a rich, creamy, and classic treat, this Fantasy Fudge Recipe is a must-try. Known for its smooth texture and perfectly sweet chocolate flavor, this old-fashioned fudge is a favorite during holidays and special occasions. I love how it melts in your mouth while still holding its shape, making it both indulgent and easy to share.
Why You’ll Love This Recipe
Smooth and Creamy Texture:
Perfectly soft with a melt-in-your-mouth consistency.
Rich Chocolate Flavor:
Deep, sweet chocolate taste in every bite.
Great for Gifting:
Ideal for holidays, parties, or homemade gifts.
Classic Recipe:
A timeless treat that’s been loved for generations.
Ingredients You’ll Need
Sugar:
Provides sweetness and structure.
Butter:
Adds richness and smooth texture.
Evaporated Milk:
Creates a creamy base.
Chocolate Chips:
Give the fudge its rich chocolate flavor.
Marshmallow Creme:
Helps achieve the signature smooth and fluffy consistency.
Vanilla Extract:
Enhances flavor.
Salt:
Balances the sweetness.
Variations
- Add chopped nuts for crunch
- Use dark chocolate for a richer taste
- Swirl in peanut butter
- Add white chocolate chips for a twist
How to Make Fantasy Fudge Recipe
Step 1: Prepare the Pan
Line an 8×8-inch baking dish with parchment paper or lightly grease it. This makes it easier to remove the fudge once it sets.
Step 2: Combine Sugar Mixture
In a saucepan, combine sugar, butter, and evaporated milk. Heat over medium heat, stirring constantly until the mixture comes to a boil.
Step 3: Boil the Mixture
Once boiling, continue to cook for about 4–5 minutes, stirring continuously. The mixture should thicken slightly—this step is key for the correct texture.
Step 4: Add Chocolate and Marshmallow
Remove the pan from the heat and immediately stir in the chocolate chips, marshmallow creme, vanilla extract, and salt. Mix until everything is fully melted and smooth.
Step 5: Transfer to Pan
Pour the mixture into the prepared baking dish and spread it evenly using a spatula.
Step 6: Let It Set
Allow the fudge to cool at room temperature until completely set, about 2–3 hours. For faster setting, you can refrigerate it.
Step 7: Slice and Serve
Once firm, lift the fudge out using the parchment paper and cut into squares.
Pro Tips
Stir Constantly:
Prevents burning and ensures a smooth texture.
Don’t Skip Boiling Time:
Proper cooking time is essential for the fudge to set correctly.
Use Quality Chocolate:
Better chocolate results in better flavor.
Cool Completely Before Cutting:
Helps achieve clean, neat squares.
How to Serve
Dessert Treat:
Serve as a rich, bite-sized dessert.
Holiday Gift:
Package in boxes or tins for gifting.
Party Snack:
Perfect for dessert tables and gatherings.
Storage
Room Temperature:
Store in an airtight container for up to 1 week.
Refrigerator:
Store for up to 2–3 weeks.
Freezing:
Freeze for up to 2 months and thaw before serving.
FAQs
Why didn’t my fudge set?
It may not have boiled long enough.
Can I use condensed milk instead?
Evaporated milk is recommended for the best results.
Can I add nuts?
Yes, they add great texture.
How do I cut clean squares?
Use a sharp knife and wipe between cuts.
Final Thoughts
This Fantasy Fudge Recipe is rich, creamy, and perfectly sweet—a true classic dessert. Easy to make and always a hit, it’s perfect for holidays, gifting, or simply satisfying your sweet tooth. Once you try it, you’ll see why it’s a timeless favorite.
Fantasy Fudge Recipe
Ingredients
Method
- Prepare baking pan.
- Cook sugar, butter, and milk until boiling.
- Boil for 4–5 minutes while stirring.
- Remove from heat and add remaining ingredients.
- Mix until smooth.
- Pour into pan and let set.
Notes
- Stir constantly while cooking
- Do not skip the boiling time
- Use good-quality chocolate
- Cool completely before cutting
")